

On my regular blog, I state that I am a junkie for tools. Once again, I am not making light of addiction, I am simply stating that collecting tools has to be somewhat akin to having an addiction, there is that tug, that want for more.. more cools stuff.. need for that one-step crimp tool or the Link Forming Pliers and peg set... like I really need that.
Good tools do help, though. I started making jewelry, not very good jewelry, before it was widely known that you could actually make your own watch band, or necklace... Back when you could buy silver cheap and pony beads were all the rage... Yes, it has been that long... I wanted to learn to make something other than beaded necklaces and something that would look real, not crafty. I failed miserably. Most of my necklaces were simple and more 'hippy' than anything. When I was around 11 or 12, I made a wire and seed bead necklace that I wore for years and years... even my daughter wore it... very simple, very me. So I've played around with making things for a long time, and I can say, having a pair of concave/ round nose pliers is very nice...
Hammers are special.
They hold a place of honor in any workroom and usually a special place in the owner's heart! I know mine are special!

There are hammers made just for driving tacks into upholstery, hammers to tap in stakes, hammers that weigh barely an ounce and hammers that weigh 20 pounds Wanting to show a variety of hammers, I started gathering... and decided to stop here... This is a decent example of different hammers for different uses...
One of my favorite hammers is my planishing hammer. it makes metal flat. The Latin word planus means flat, you know, like plains?... and thus the name.This is a finishing tool, in which you make smooth the piece of metal, or curve the metal over a stake. The surface of a planishing hammer is mirror-like normally.
Using a planishing hammer will also work harden a piece.
I found a few dents in my hammer... OK, I admit... I did it... I dented my hammer.
 |
| Needs a facelift, don't dent your good hammers! |
 |
| This is polished pretty well, still a bit dirty |
Every hammer has a purpose, smooth, rough, large or small, each gives a different texture, movement and hardness...
 Riveting hammers are amazing little objects.They have a small face, some have a bell, some just go into a narrow neck and short cheek, the pane is narrow at the end and flat.
 |
| I envy this wall--Hammers and forming stakes- courtesy Daniel Valencia |
claw hammers used to pull nails, driving nails, general hammering... I use the old ones to give a unique texture, and if I find cheap ones, I don't mind using them on steel... or using a cutting disk on them to make a pattern to use to texture metal!
Dead Blow hammers- filled with sand or shot, give an even, heavy blow. Use with stamps or dies.
Plastic Dead Blow hammer-- solid head, won't mar surface of metal
Nylon head hammers used to finish or to work harden metal
ball peen hammers-- used to move metal you can use the ball for riveting as well. Also used to form wire, also used in watch repair
Rawhide hammers-- used to work harden or to shape metal with least amount of movement like on a mandrel. Also used in leatherwork, and stamping. The rawhide comes with shellac covering it. To get it ready to use, you hammer on a curb or some concrete surface until the shellac is worn down a bit and the edges of the face are smooth!
 On my list of NEEDED tools is the magnifying glass.. I need this more than most people. I have very low vision, so I depend on having magnifying glasses to be able to see most of the work I do. Especially when I work with beads, I keep at least one magnifying glass handy, if not on my head. I use the Optivisor
  and a simple magnifying headband, clip on magnifying glasses, clip on magnifying lenses, loops and an assortment of large clip on magnifying lenses, with and without attached lights. Without these tools, I would not be able to do any beadwork whatsoever. I depend on them when working on metal as well. Sometimes they aren't enough though, and I resort to using my camera to take a picture and then transfer it to the computer. I can see flaws and know what to do to correct them if I can see the problem!
 There are tools for carving wax for lost wax casting. I don't do a lot of this, but I want to do more. My limited vision makes it difficult for me to carve smaller items, but I do love it. I would rather carve than most anything. I love the idea of using wax, since it is so forgiving, but I do love other forms of molding and carving. I've worked with polymer clay since the early 90s I guess. Maybe late 80s? I honestly don't remember the year, but I remember the joy at finding a clay that was easy to work with and could be 'fired' in a regular oven. I found a way to express myself... but I didn't stick with polymer for long. Don't get me wrong, I still work in polymer clay, just not so much. I use it more for wall hangings and oddities than for jewelry. But for the Year of Jewelry project, week 39 was Vintage Inspired... since the 90s are considered vintage now... my project was a brooch made from polymer clay.
  I love that there are so many molds for clay now. When I first started out, there were some molds, but they were rigid, with the thinking that soft goes into hard mold, hard goes into soft mold... you know, that seems right, but the use of silicone molds is so much easier to remove the clay... I made the hummingbird in this brooch using the mold by Joe and Penni Jo Couch, which I love. The details are wonderful and the mold is easy to use, easy to clean!
Which brings me to Metal Clay!
I kept hearing about this wonderful product, Precious Metal Clay (PMC) and thought, hmmm... that sounds interesting... but probably not for me to fool around with... but I found out that it is wonderful stuff... and the creations that are made with it... are spectacular! Problem is, you have to fire it with a bit more heat than you would polymer clay... so you need a kiln. I have a beehive kiln, something that is fun to use, and does the job for enameling but not so much for metal clay, especially when it needs a double stage firing... so you get together with someone with a kiln or take it to someone that does firing for hire...
On the 12th, I'll have an interview with Lorena Angulo, who's work inspired me to try Precious Metal Clay, after I saw her work and her book Behind the Brooch:A Closer Look at Backs, Catches and Pin Stems. Her work is wonderful! So I got the fever, and tried, and liked working with the clay, but I am not sure that is the area that I love...
So, what area do I love? I'm not sure. I have been beading for my whole life, I really love working with metal.. and I'm a heck of a sawer... I can saw all day and not get tired of it... but there is just so much sawing that you can do... I'm still trying to find my niche.
While I am still playing around with different mediums, from Vinyl to PMC, I will keep adding to my collection of tools...


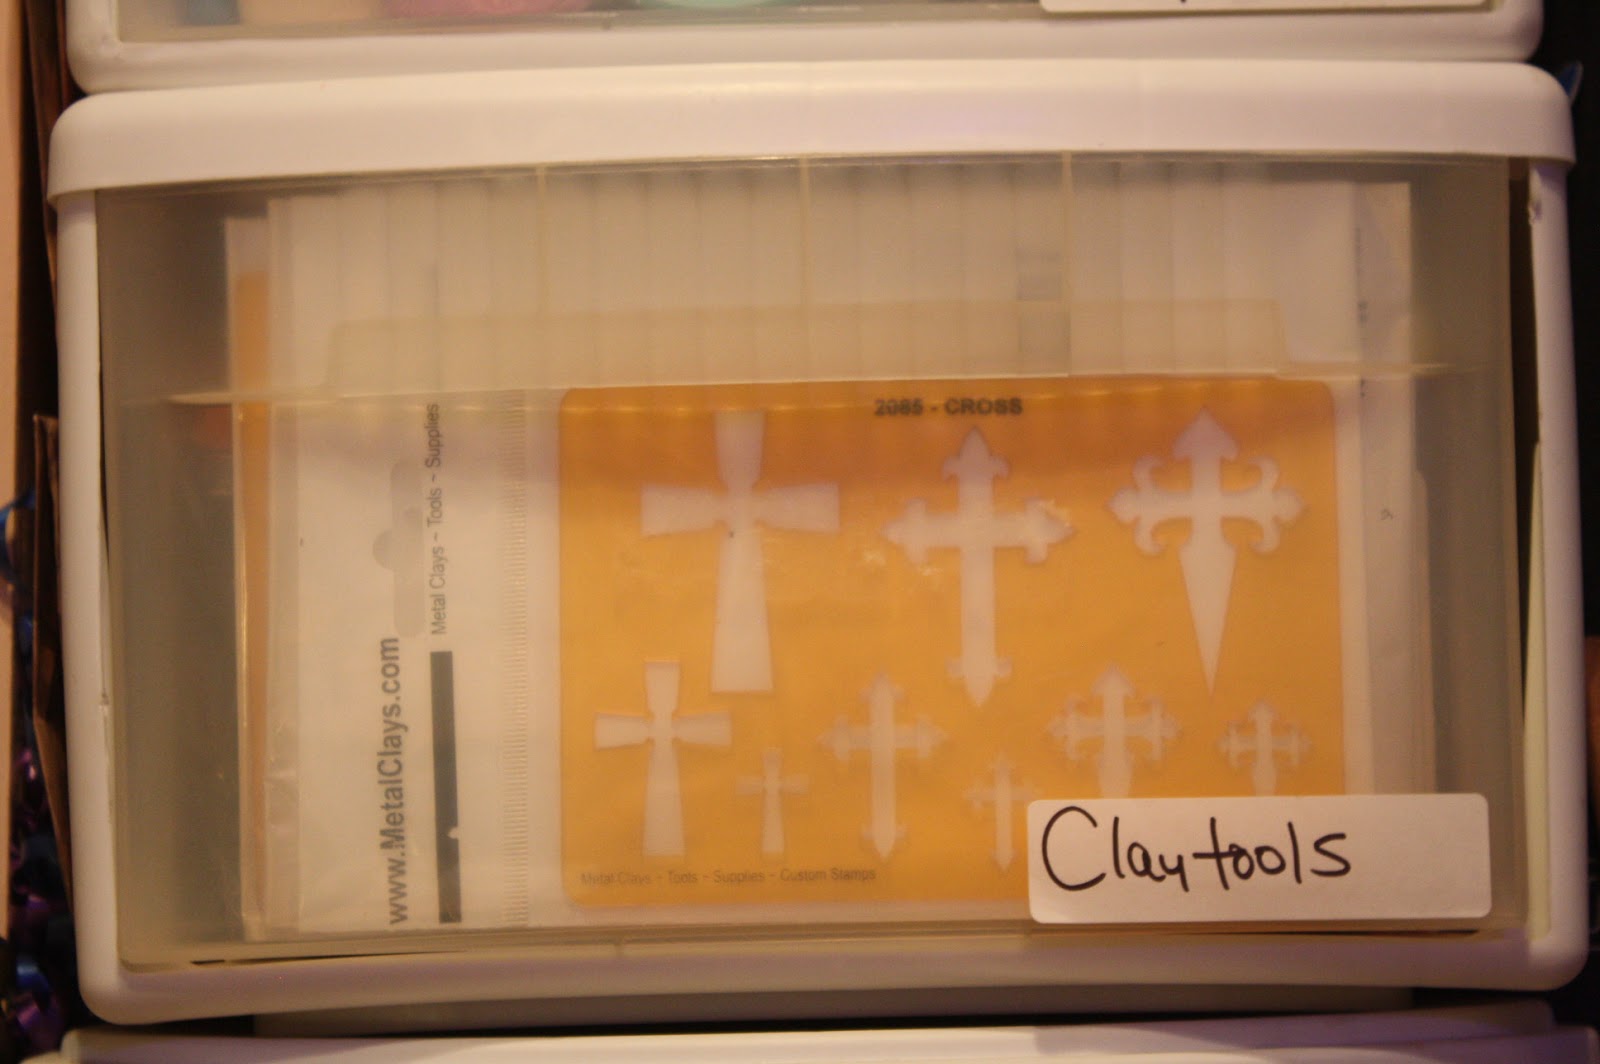
 You need to keep tools stored properly, they are an investment, and should be treated as such... My husband bought these nifty wooden tool chests for me about 10 years ago. I kept one for jewelry tools and one for sewing... but I've expanded a bit, and now use both for jewelry and beading tools... I love them since they are felt lined, and they are shallow enough to find the tools readily. I label everything. I think that is my old person coming out... I forget where I put stuff so easily. I have moved my workroom several times and have rearranged it numerous times, since I added another desk, more equipment, and toys...
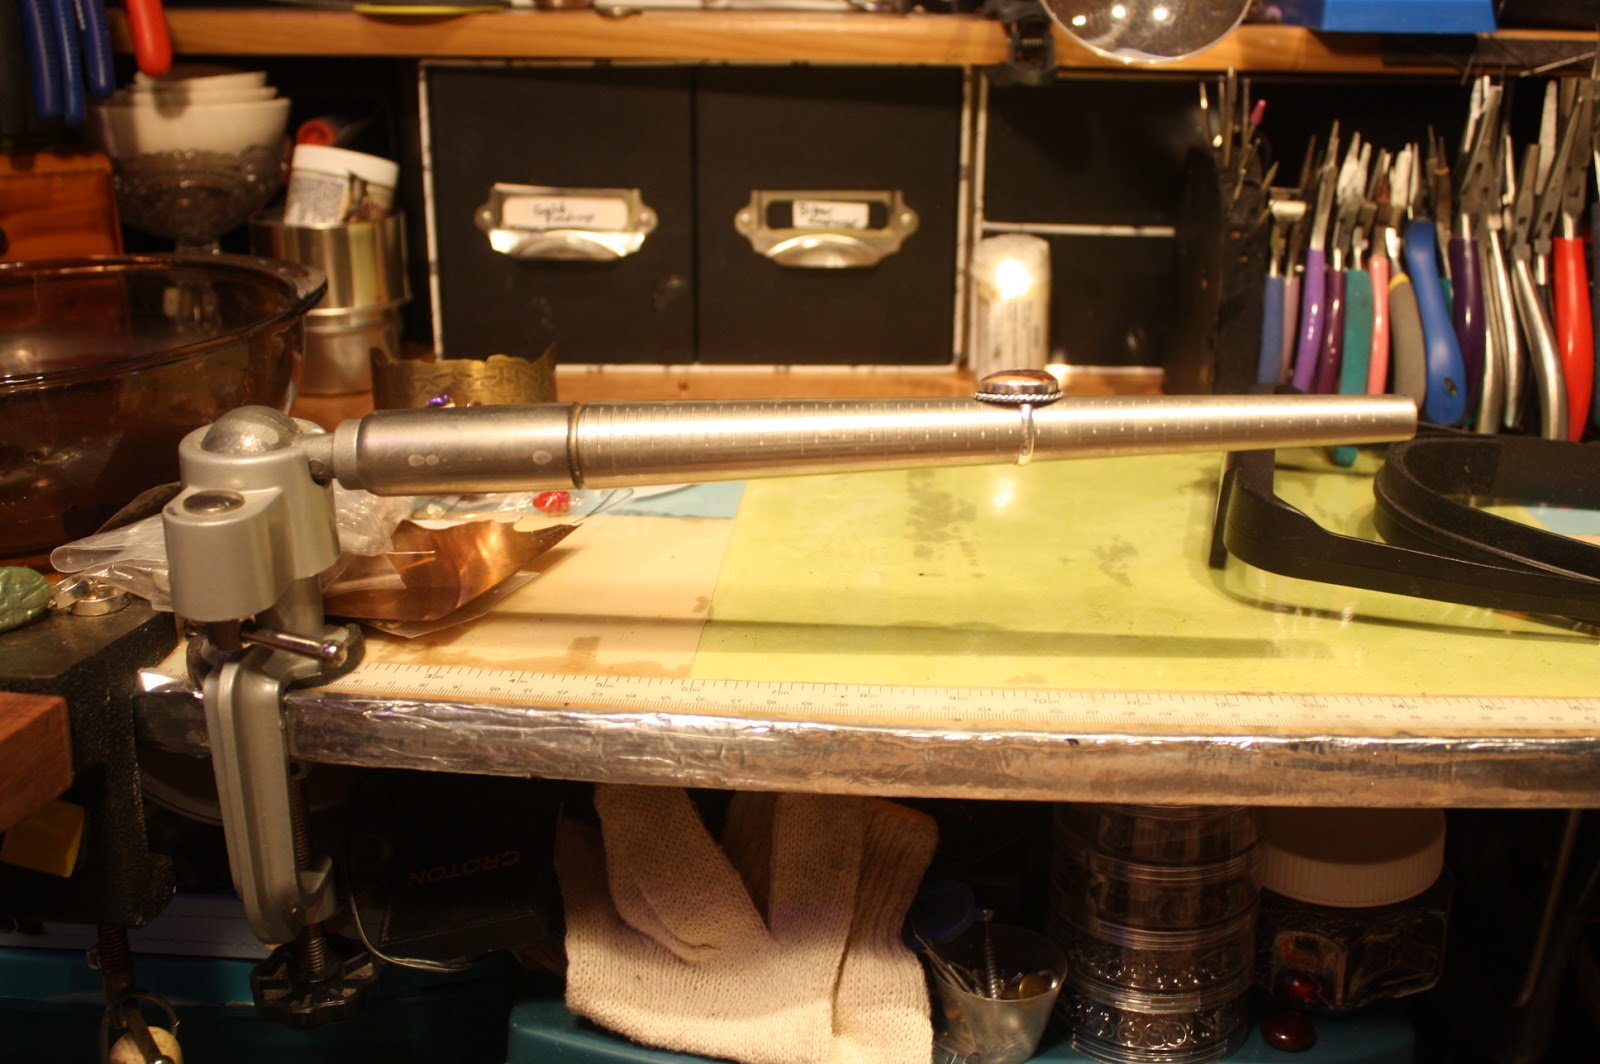 It's important to keep tools that you use often, close at hand. I don't work on watches often, I do love them, but my eyes are so bad, changing batteries is about all I can muster now. But I keep the tools at hand, not far from reach. I
If you scroll to the bottom... you'll see a little seen sight... My beading desk...
 Here's where I create the bead embroidery and sometimes loomed pieces, I don't use the loom much, but... here is where I do it. I normally don't let anyone... ANYONE see that desk since I have at least 10 projects going at once.. I always have a mess! But figured if I was going to show you my workbench, I should include the beading table as well....

 Anvils are a must, they make your work so much easier. The ball hitch is to form on, the blocks are nice to use to work on my knee... I have a sand-filled leather pad to use under them, to damp the sound and to cushion my knee... I like the control I get when I keep the work close to me.
 |
| Ugh... It is messy... and will always be, probably 20 projects here... |

No comments:
Post a Comment